View by Country and Subject

Showing posts with label Japan. Show all posts

Friday, December 26, 2008

Made in Japan

(Click photos to enlarge)

Rozome (wax resist) pieces

Aizome (indigo dye)


Katazome (rice-paste resist)

Sketchbook

If there is one thing that I have learned in Japan, it's the importance of my sketchbook. Rozome pieces do not just appear out of thin air but from careful planing and thought. A good sketch is the foundation of any finished piece without which I would be completely lost.  All of the work I made in Japan were the result of small scale drawings that grew into something more.  

Sunday, December 21, 2008

Musee de Some Seiryu

In the heart of Kyoto is a gallery devoted to the art of textile dying.  The current exhibition showcases a group of five promising young artists. 


This rozome artist has a unique style all her own. Instead of blocking in large patches of color, she instead waxes around her image, leaving the thinnest gaps you can imagine.  The results after dying are rozome drawings that are both simple and elegant. 


If at first you don't succeed...

TRY, TRY AGAIN!!!!
A small stone shinto shrine

This drawing is what I was aiming for


The first layer of wax and dye - I had such high hopes!

Last layer of color

Wax removal with gasoline

Steam fix

Interesting, but not what I wanted. It's too dark and the texture is distracting.
Second attempt was even worse!

Third time's the charm!


It took three tries, but I finally got it right!

Rozome techniques

The possibilities of painting with wax are endless!
Paint on a slant for interesting drips

careful brushwork
brush prints
Splattered through newspaper
multiple layers 


Straight lines made with ruler


Roll on wax
Look closely at the textures and shapes. Can you see the half-resist?

Han-bosen technique

Han-bosen translates to "half-resist" and is a technique of creating shading by varying the thickness of the wax. This is what elevates Japanese rozome to true fine art and sets it apart from all other batiks of the world. Here, rozome master Mitsuo Takaya demonstrates this difficult technique. 

Sketch outline onto the back of the work.
The thickness of wax is controlled by the speed and pressure of the brush as well as the temperature of the wax. To create maximum thickness, each layer of wax must be cool before the next one is painted on.  Thin areas are made by painting on hot wax quickly and with maximum brush pressure. 
Details are possible by using a sharp object to scratch away wax
Penetrating oil is the secret ingredient added to the dye which allows it to go though the wax and create shading. 
The dye is rubbed in with a flat "surikome" brush. Where the wax is thin, the color will penetrate, making shadows and texture. 
If the shading is not enough, the wax can be further scratched away with a hard bristle brush and dyed again. 

A three-dimensional hand painted with wax. Amazing!

A piece of paper can be used as a tool to create faint shapes and outlines. 

Another method is to thin the wax by melting it with a blow dryer
Paint more wax on top of thinned wax

And watch the pattern emerge as dye is painted on. 
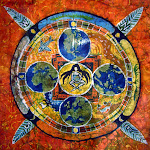
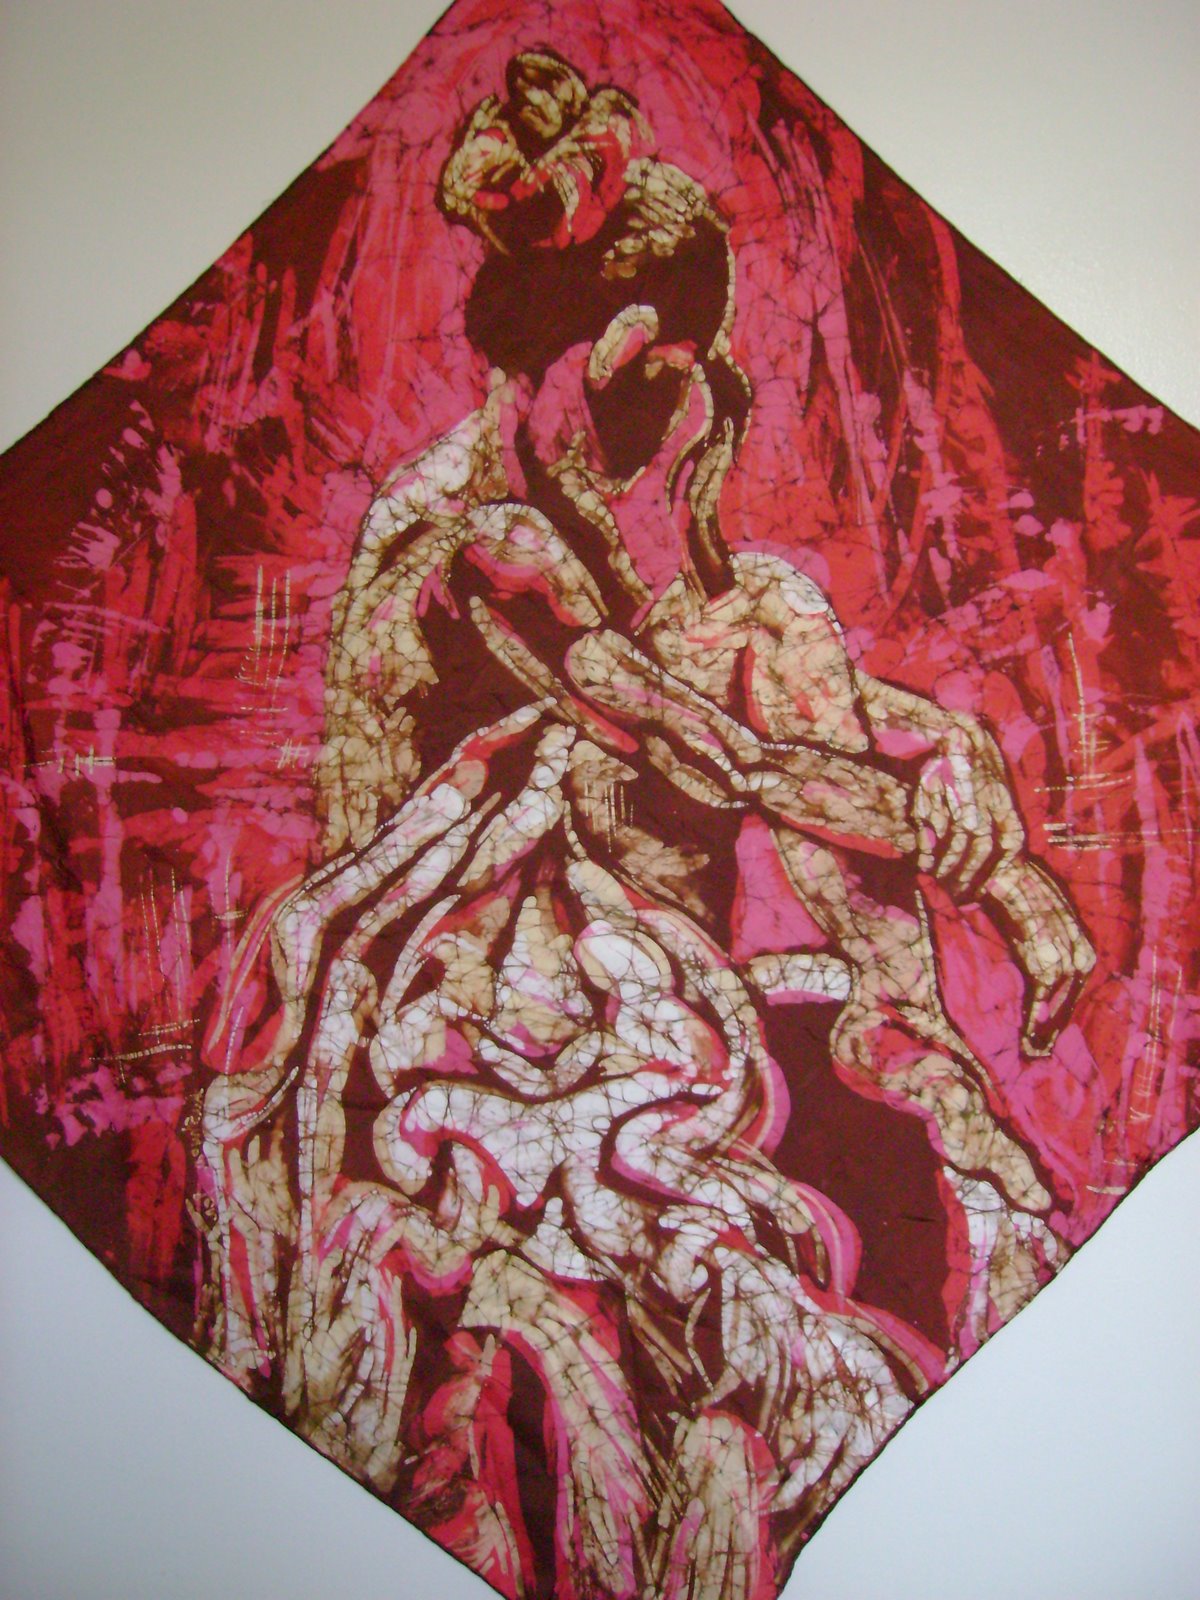
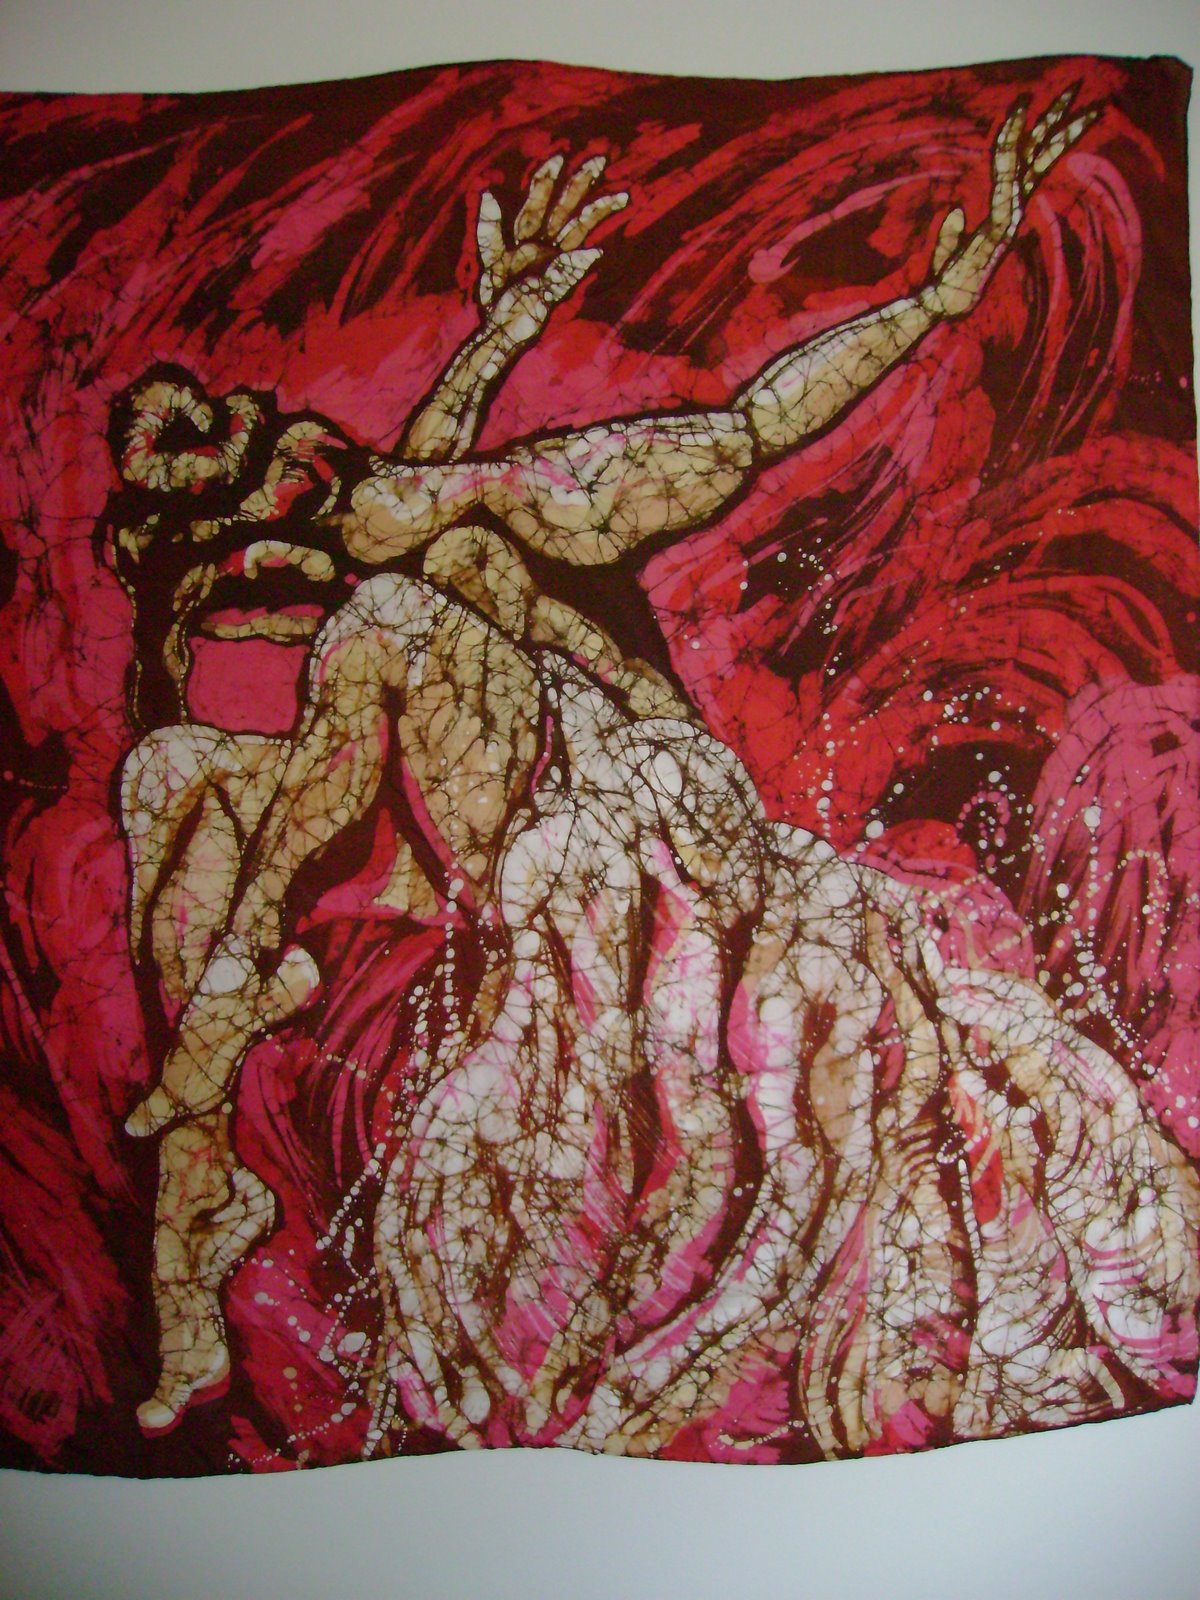
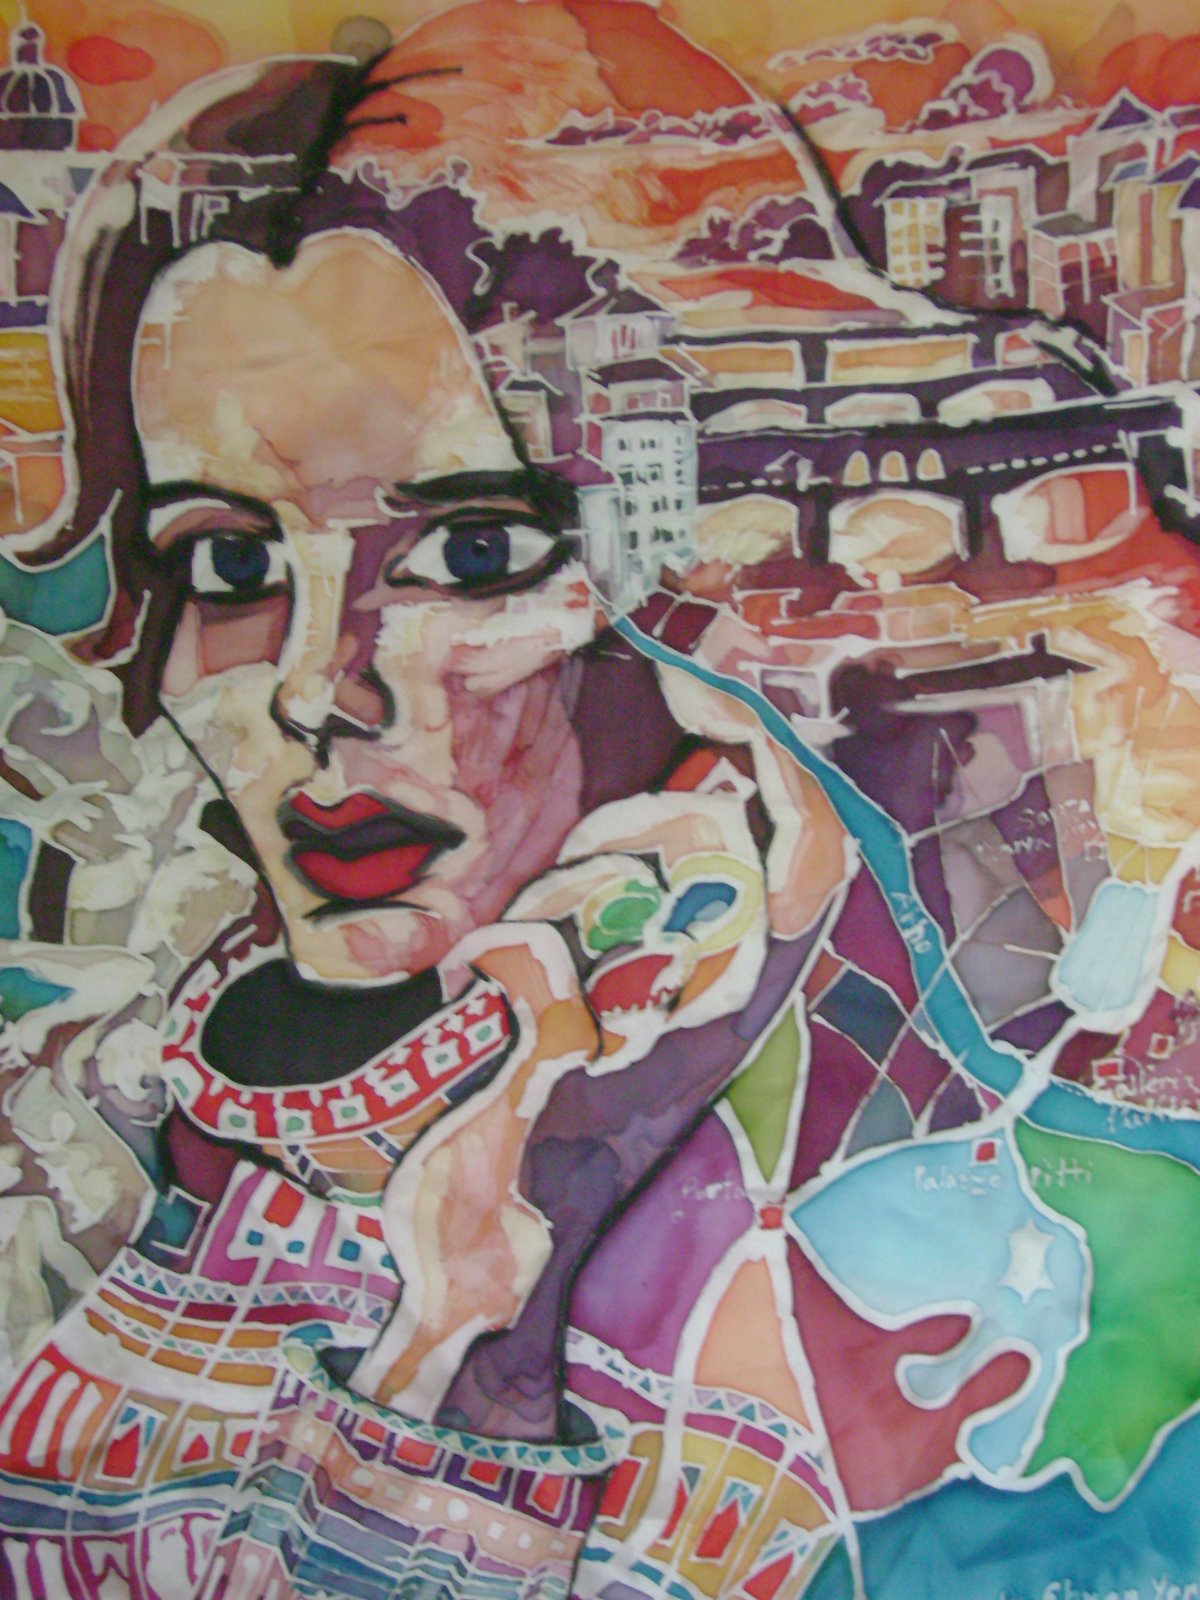
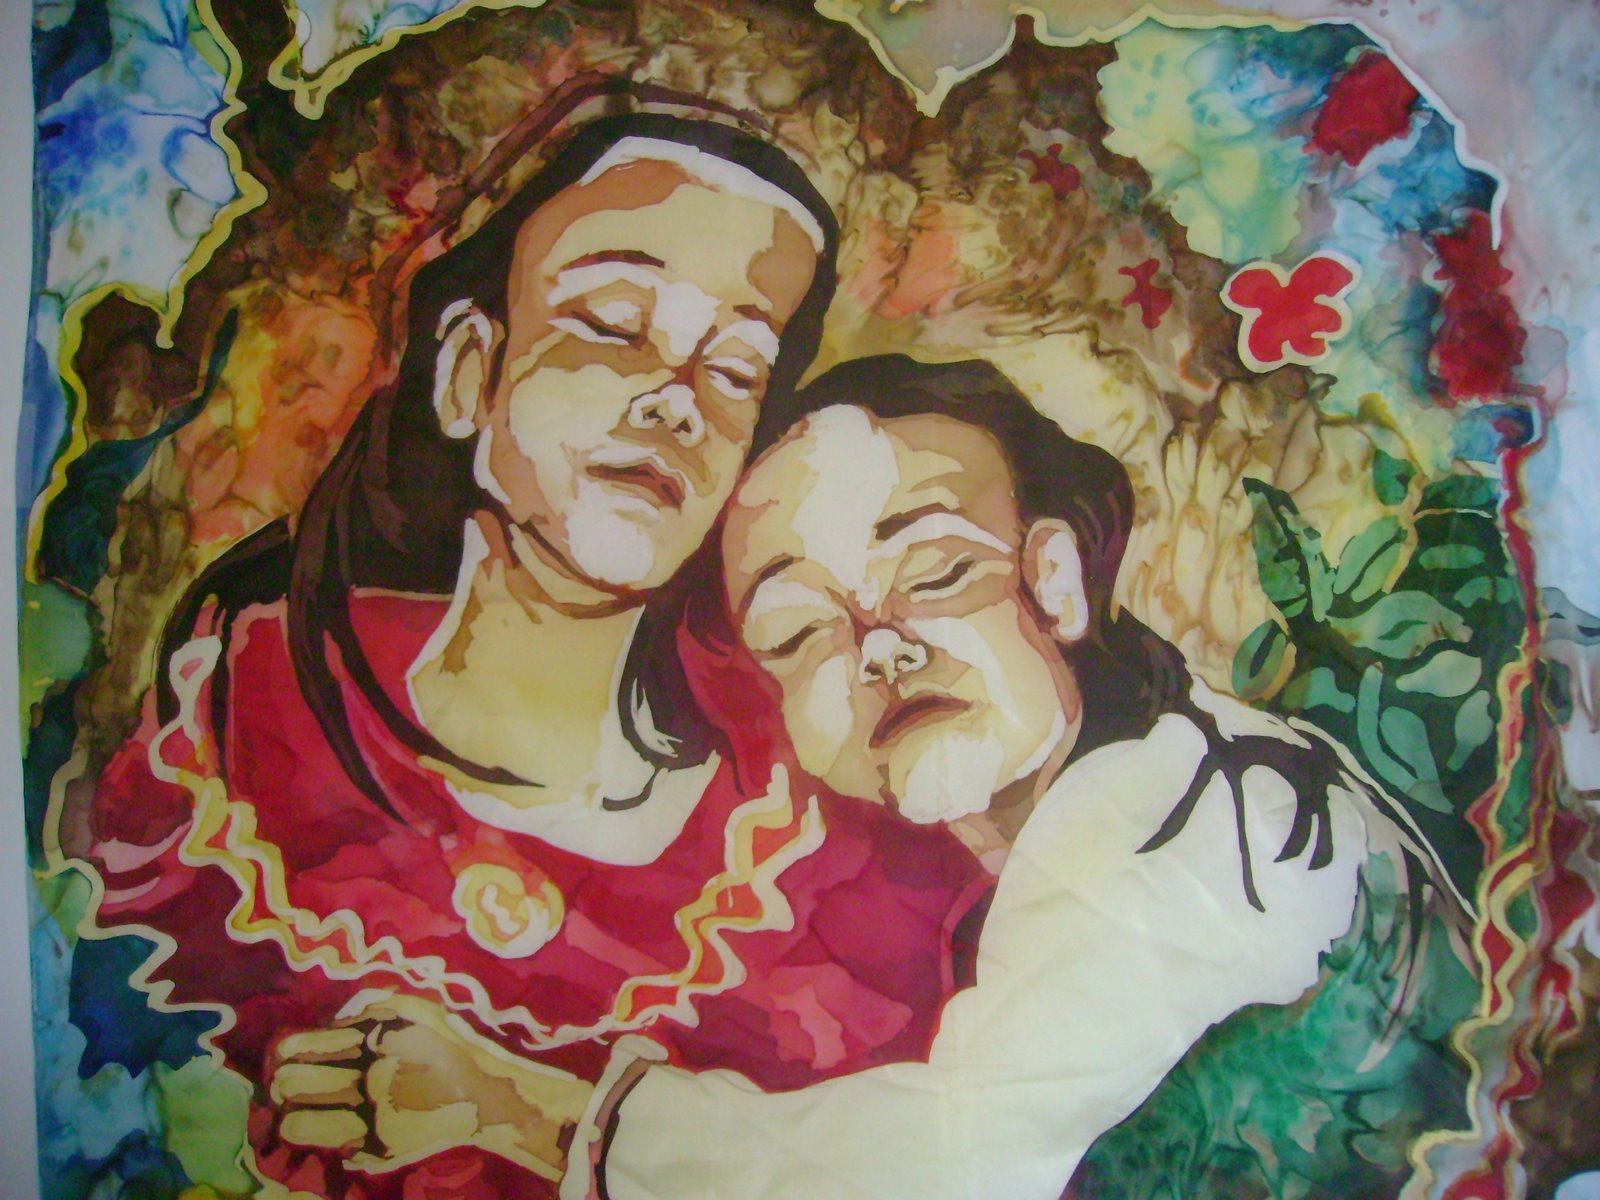
My own attempts at Han-bosen. It's even more difficult than it first appears!


Saturday, December 20, 2008

Gojiru


Gojiru is a mixture of soybeans, kelp and water which is brushed onto fabric before dye is applied. This keeps the colors vibrant and reduces the appearance of those annoying streaks that occur when painting large patches of fabric. (Used for direct dyes, not fiber reactive dyes).

Dried Kelp

Add Water

Heat until desolved
Soak Soybeans for at least 4 hours
Blend until smooth - like soy milk!

Squeeze through cheesecloth 

Mix kelp water with soy milk together and voila - gojiru!

Paint onto rozome piece before dyeing. 

Katazome Process

Like rozome, katazome is a Japanese method of dyeing fabrics using a resist. Instead of wax however, rice flour paste is what repels the dye and creates the design. 
Sketch a design on paper making sure all black areas connect

Trace onto stencil paper and cut out design with knife.
(The stencil is made of several sheets of mulberry paper laminated with rice paste and tanned with persimmon juice which is very acidic and makes the laminated paper strong and waterproof). 
Prime a wood board with watered down rice paste. 
This will act as the glue that holds the fabric in place.

Attach fabric onto board with the help of some water.

Place stencil and silk screen on top of fabric

Apply rice paste resist

A perfect, uniform thickness is important. 
Too thick and it will crack, too thin and the dye will go through. 

Remove the stencil and screen

Sprinkle on some sawdust to prevent rice paste from sticking.

Stretch with "shing-shi" and wait two days to dry completely. 

Apply "gojiru" (soybean/kelp water) to back of each piece. Allow to dry.

Finally ready to paint! I used acid dyes for the three silk pieces and direct dyestuff on the cotton.
After drying completely, they are rolled into many layers of newspaper and steamed.
The rice paste is washed off with lukewarm water. 
Hang to dry. 
Finished!